Interactive Runs#
Interactive runs give the ability to debug and iterate quickly inside your cluster in a secure way. Interactivity works on top of the existing MosaicML runs, so before connecting a run workload needs to be submitted to the cluster. For security purposes storage is not persisted, so we recommend utilizing your own cloud storage and git repositories to stream and save data between runs.
Launch an interactive run#
Launching new runs
All runs on reserved clusters can be connected to, regardless of how they were launched.
This section goes over mcli interactive, which is a helpful alias for creating simple “sleeper” runs for interactive purposes.
You can also create a custom run configuration for interactive purposes through the normal mcli run entrypoint
Launch an interactive run by running:
mcli interactive --max-duration 1 --gpus 1 --tmux --cluster <cluster-name>
This command creates a “sleeper” run that will last for 1 hour (--max-duration 1), request 1 GPU (--gpus 1) and connect to a tmux session (--tmux) within your run.
The --max-duration or --hours argument is required to avoid any large, accidental charges from a forgotten run.
The --tmux argument is strongly recommended to allow your session to persist through any temporary disconnects.
mcli will automatically try to reconnect you to your run whenever you disconnect, so utilizing tmux dramatically improves this experience.
Note that interactive runs act like normal runs:
# see interactive runs on the cluster
mcli util <cluster-name>

# your interactive runs will show up when you call "get runs"
mcli get runs --cluster <cluster-name>

# get more info about your run
mcli describe run <interactive-run-name>

# stop your interactive run early
mcli stop run <interactive-run-name>

# delete it
mcli delete run <interactive-run-name>
from mcli import get_run, get_cluster

# see interactive runs on the cluster
cluster = get_cluster('cluster-name'):
print("Active runs in:", cluster.name)
for run in cluster.utilization.active_runs_by_user:
    print(run.run_name, run.user)

# get your interactive run
run = get_run("interactive-run-name")
print(run)

# stop your interactive run early
run.stop()

# delete it
run.delete()
Full documentation for the interactive command
Multi-node support
Multi-node interactive runs are currently only supported on reserved, single-tenant clusters
usage: mcli interactive [-h] [--hours [HOURS]] [--name NAME] [--image IMAGE]
                        [--max-duration MAX_DURATION]
                        [--cluster OVERRIDE_CLUSTER]
                        [--gpu-type OVERRIDE_GPU_TYPE]
                        [--gpus OVERRIDE_GPU_NUM]
                        [--instance OVERRIDE_INSTANCE]
                        [--nodes OVERRIDE_NODES]
                        [--node-names OVERRIDE_NODE_NAMES] [--no-connect]
                        [--rank N] [--command COMMAND | --tmux]
                        [HOURS]
Positional Arguments#
- HOURS
Number of hours the interactive session should run
Named Arguments#
- --hours
Number of hours the interactive session should run
- --name
Name for the interactive session. Default: “”interactive””
Default: “interactive”
- --image
Docker image to use (default: “mosaicml/pytorch”)
Default: “mosaicml/pytorch”
- --max-duration
The maximum time that a run should run for (in hours). If the run exceeds this duration, it will be stopped.
Compute settings#
These settings are used to determine the cluster and compute resources to use for your run
- --cluster, --platform
Optional override for MCLI cluster
- --gpu-type
Optional override for GPU type. Valid GPU type depend on the cluster and GPU number requested
- --gpus
Optional override for number of GPUs. Valid GPU numbers depend on the cluster and GPU type
- --instance
Optional override for instance type
- --nodes
Optional override for number of nodes. Valid node numbers depend on the cluster and instance type
- --node-names
Optional override for names of nodes to run on (comma-separated if multiple)
Connection settings#
These settings are used for connecting to your interactive session. You can reconnect anytime using mcli connect
- --no-connect
Do not connect to the interactive session immediately
Default: True
- --rank
Connect to the specified node rank within the run
Default: 0
- --command
The command to execute in the run. By default you will be dropped into a bash shell
- --tmux
Use tmux as the entrypoint for your run so your session is robust to disconnects
Default: False
Update a run’s max duration#
After creating an interactive run, you can change its maximum duration.
mcli update run <interactive-run-name> --max-duration <hours>
Connect to a run in the terminal#
Regardless of how you launched the run, you can connect to any active run using:
mcli connect <run-name> --tmux
By default, the session will connect inside a bash shell. We highly recommend using tmux as the entrypoint for your run so your session is robust to disconnects (such as a local internet outage). You can also configure a command other than bash or tmux to execute in the run:
mcli connect --command "top"
If you are running multi-node interactive runs, you can specify the zero-indexed node rank via:
mcli connect --rank 2
Connect to a run with VSCode#
Disclaimer
Due to VSCode Server licensing, we cannot integrate directly with the native VS code remote development extensions. This guide outlines and documents how to get started with the VSCode server using tunneling
First time local setup: Install VSCode and the remote development extension pack. We recommend reviewing the system requirements and installation guide for the extension pack as some requirements are highly dependent on your operating system.
Step 1: Create an interactive run as documented above
Step 2: Connect to that run via mcli connect
Step 3: Run the following commands to download VS Code server and start it:
trap '/tmp/code tunnel unregister' EXIT
cd /tmp && curl -Lk 'https://code.visualstudio.com/sha/download?build=stable&os=cli-alpine-x64' --output vscode_cli.tar.gz
tar -xf vscode_cli.tar.gz
/tmp/code tunnel --accept-server-license-terms --no-sleep --name mml-dev-01
This will output something like:
*
* Visual Studio Code Server
*
* By using the software, you agree to
* the Visual Studio Code Server License Terms (https://aka.ms/vscode-server-license) and
* the Microsoft Privacy Statement (https://privacy.microsoft.com/en-US/privacystatement).
*
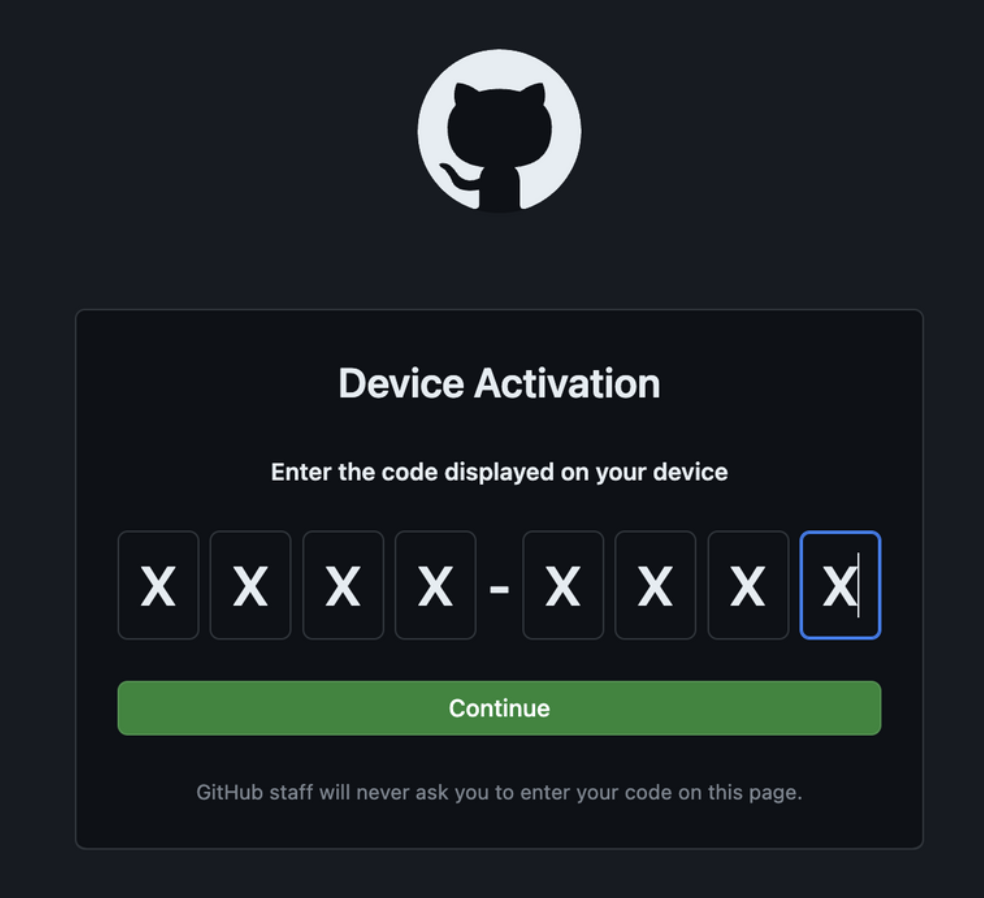
To grant access to the server, please log into https://github.com/login/device and use code ABCD-1234
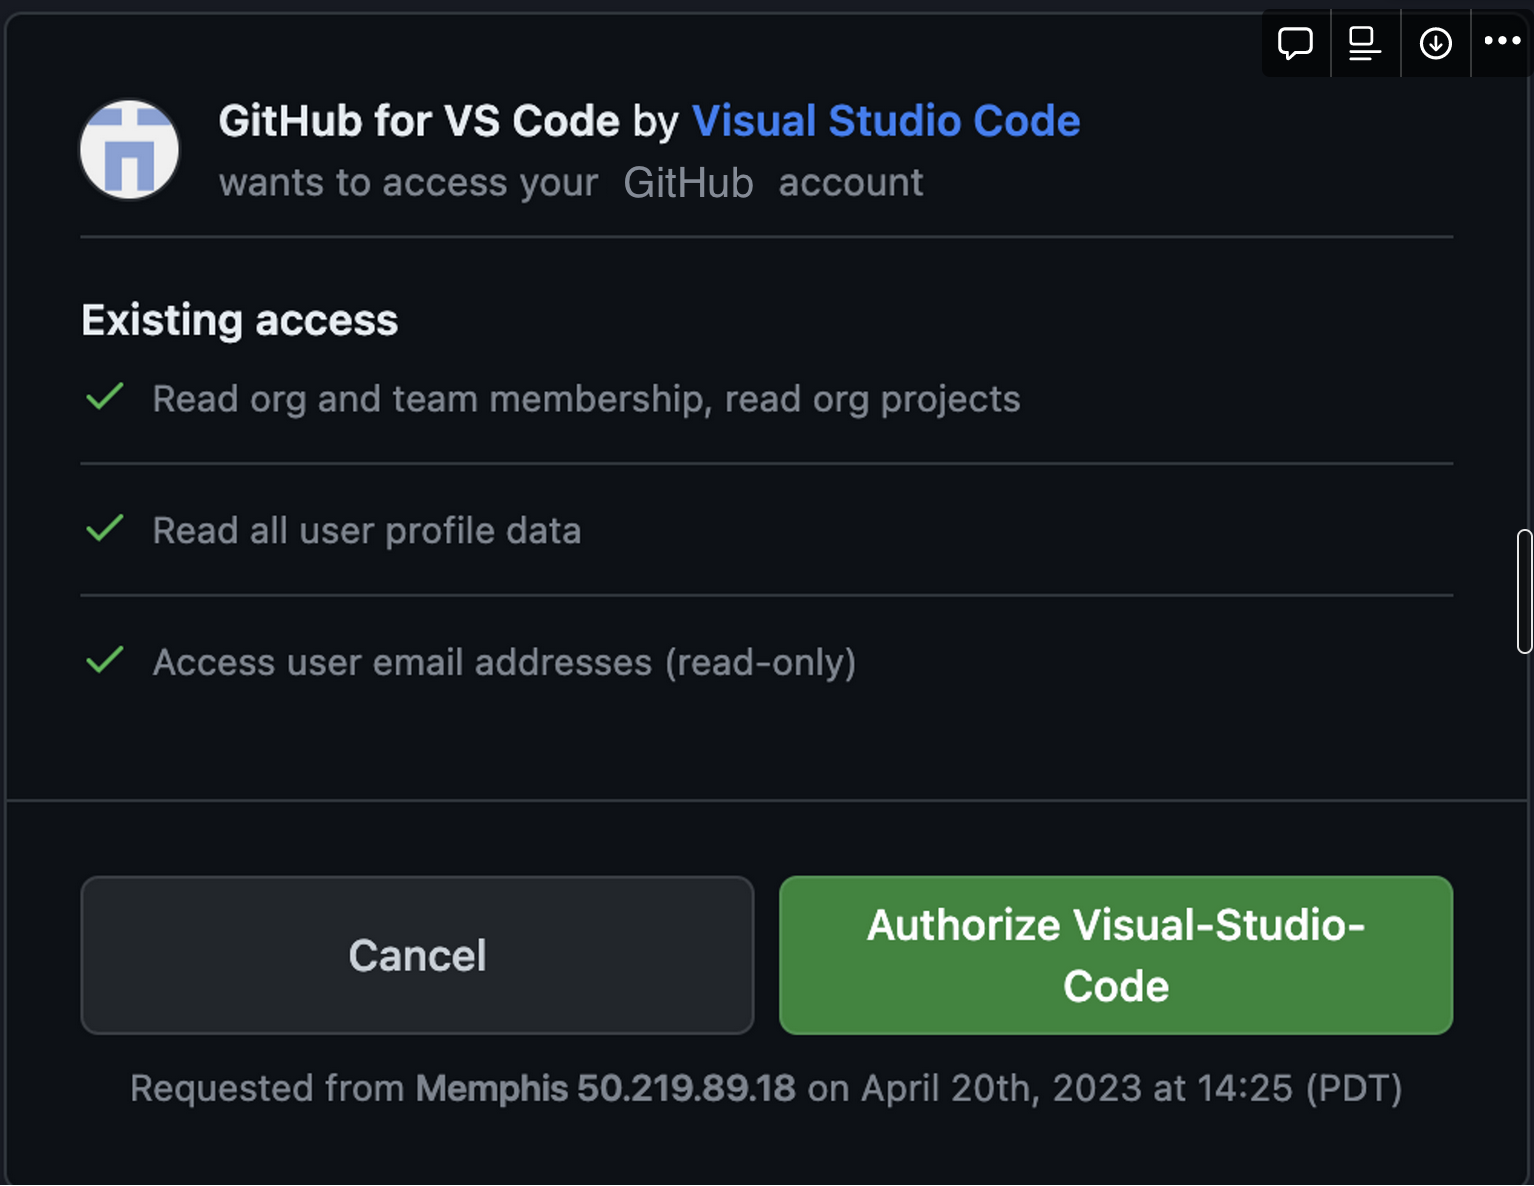
Step 4: Authenticate using the code provided here and authorize your github account
|
|
Step 5: From an existing VSCode window, connect using remote tunnel by selecting the blue remote window button on the very left of bottom sidebar. Select “Connect to tunnel” from “Remote-Tunnels” and then select the tunnel name (default: “mml-dev-01”)
Alternatively, you can connect in the browser at: https://vscode.dev/tunnel/mml-dev-01/tmp
Connect to a run with Jupyter Notebooks, via VSCode#
Follow the steps above to set up an interactive instance via VSCode, then install the Jupyter extension and specify a kernel. Once configured, you should be able to run any .ipynb notebook in your interactive instance via VSCode!